I've been fairly consistantly doing a lot of soldering over the last few years, both surface mount and through hole. Every now and then I accept "easy" jobs from my friends. I've fixed buttons on car key fobs, micro usb connectors and now the USB-C connector on Sony WH-1000XM3 head phones.
This has probably been the first item where I've not been able to get to the pins to solder them on. So lets have a look at what is involved.
 Deconstruction

The headphones are really nicely put together and very repairable, something other manufacturers should take note of.
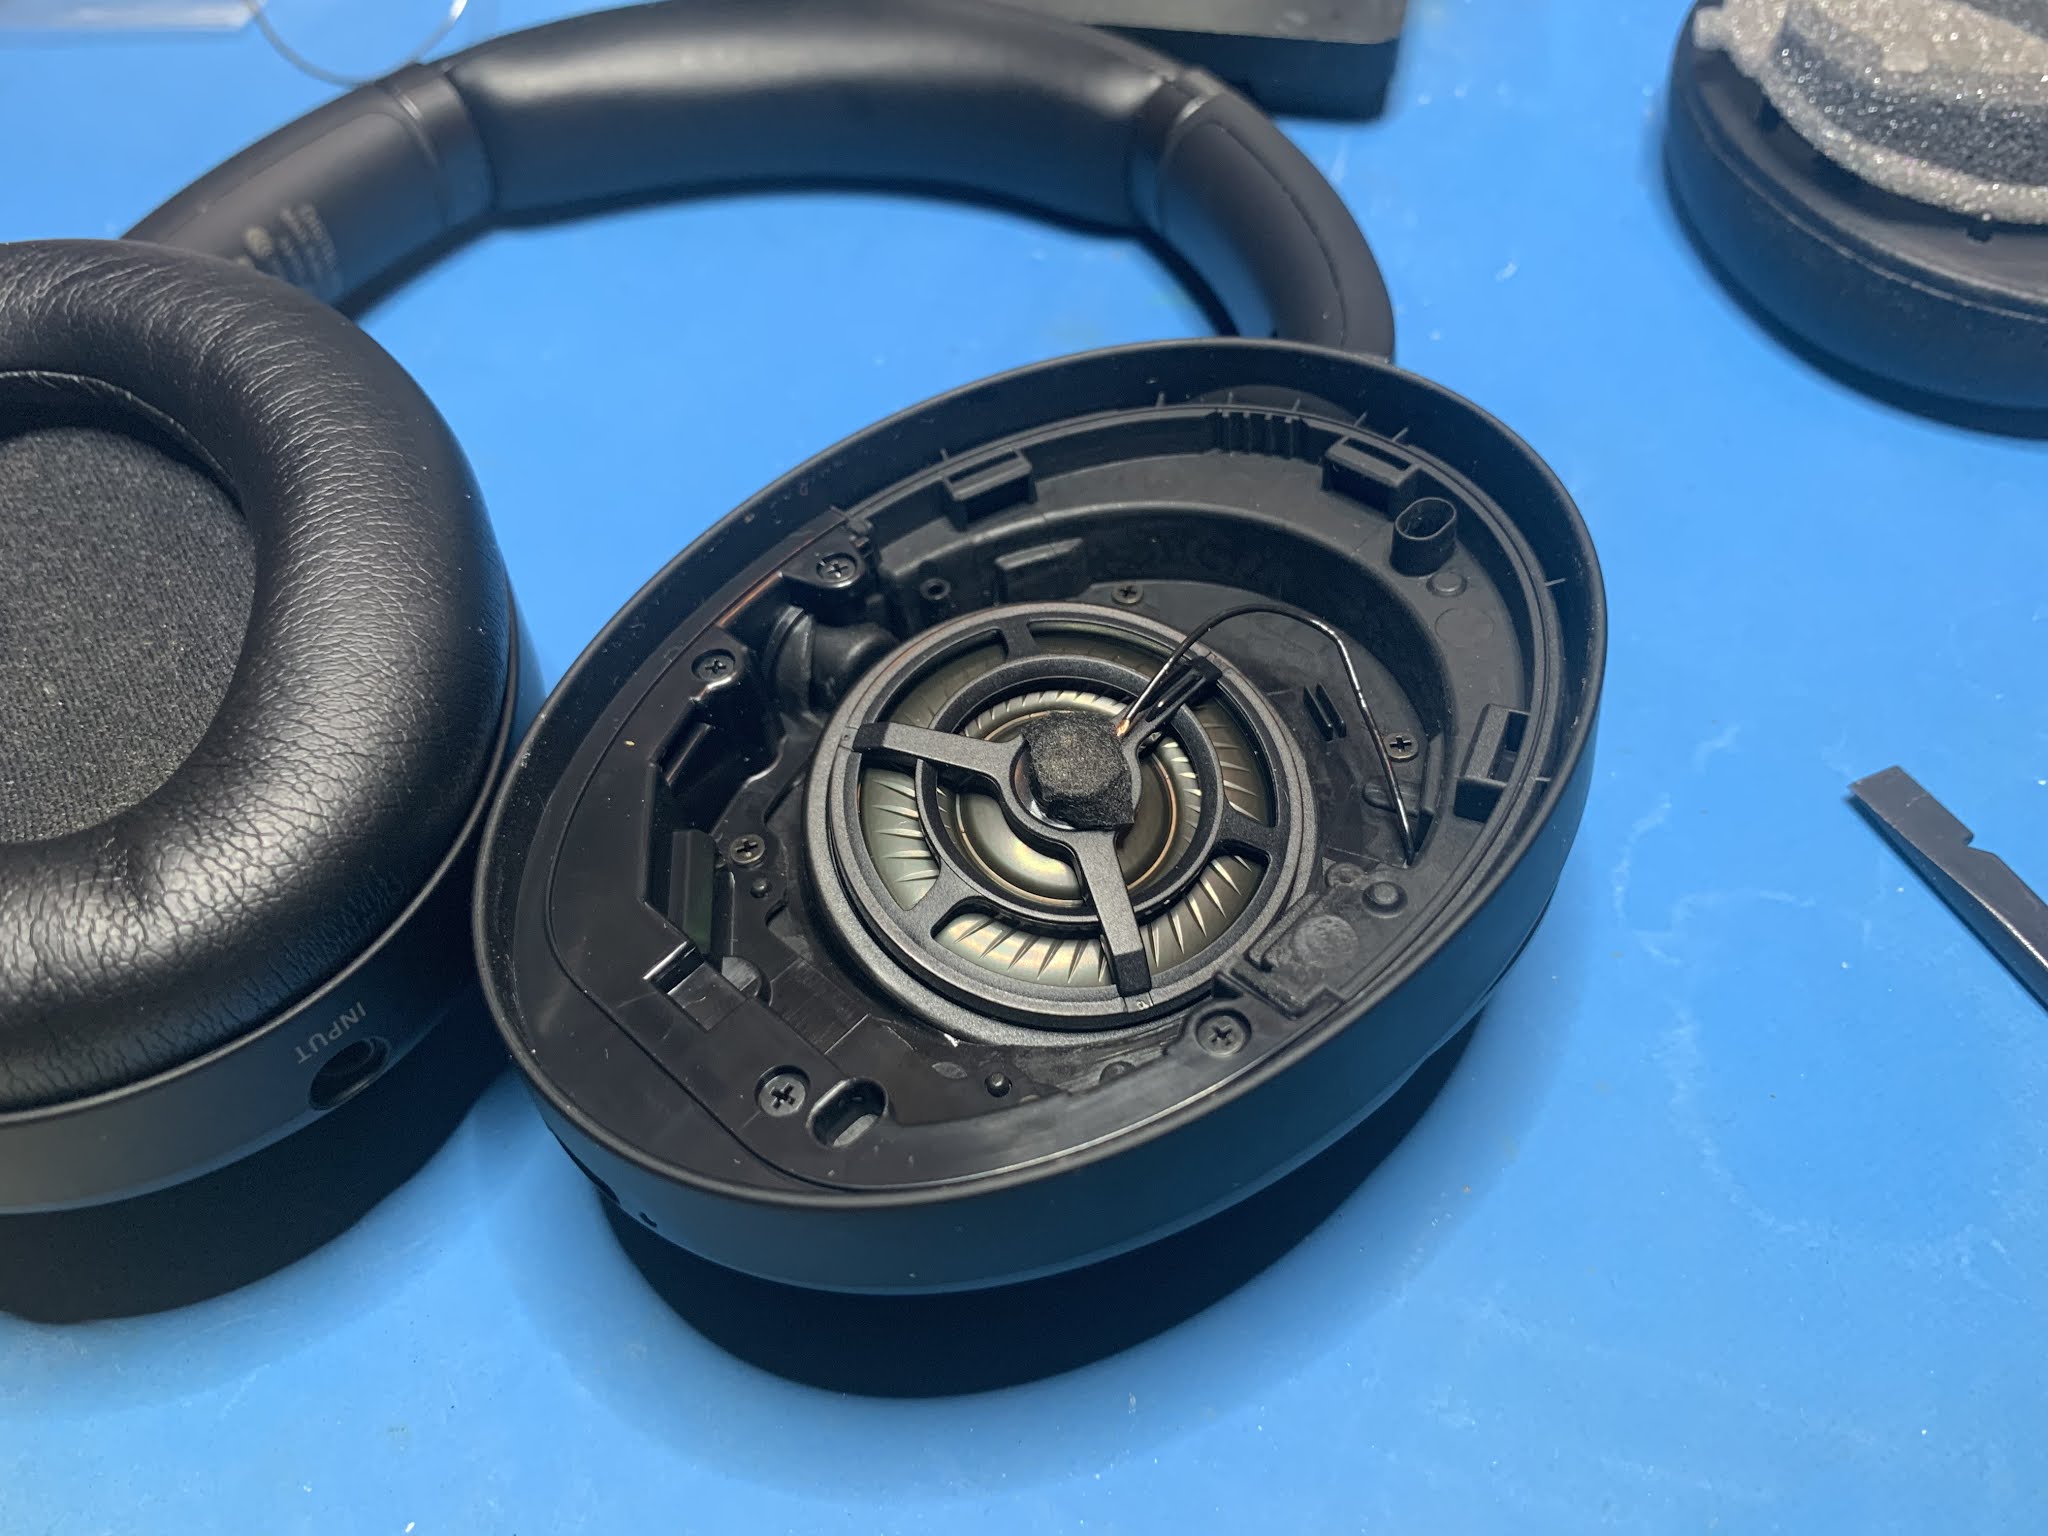


Using a spudger start at the side and make your way around to remove the foam ear piece.


Using a Hot Air tool remove the connector. You'll notice I've left the solder on the pads.
Which part is this?


Now that I had the part off it was off to RS-Components to play match the foot print. With some digital calipers in hand and data sheets on the screen I managed to find a good match.
Reconstruction


No comments:
Post a Comment