Arduino and LEGO Power Function Trains
One of my many passions is LEGO, it is awesome. In recent years after being totally demoralized by the unending release and re-release of the Star Wars product line, I was extremely excited to see the new Power Functions Lego Train Line. Like probably a lot of Adults I was a little disappointed in the use of Infrared controllers and the limitations that they brought.
So like many LEGO train enthusiasts out there I started looking at Arduino and trying to integrate the Power Functions nicely into that. After buying a few Ardunio boards and playing with them with breadboards they all had pretty bad problems with them that didn't make them ideal to run my trains.
Basically the issues I had were the following:
Too Big - Too many Shields
The trouble with nearly all boards and systems out there is that in order to get the functionality you need you need to either have a really massive board or lot of Sheilds. So Shields are those add on boards that add functionality like battery power, motor drivers, RFID readers and wireless connections. Even the tiny Ardunio clones needed a LOT of boards to get the functionality I needed and even then the Power issue persisted.
Power
This was probably the biggest bug bear and road block. Pretty much every single system required that you have two power supplies one for the Arduino and one for the Motors. I looked at building my own boards with Linear Power converters and H-Bridge chips and in the end I ended up with a massive Breadboard of despair.
The Savior, the DAGU Micro Magician v2
So I almost gave up on the whole thing until I came across the DAGU Micro Magician v2. This wondrous little board packs in a massive amount of functionality into a tiny board. So what makes this board so good?
Power : One battery in 3 supplies out!
This little board only requires ONE power supply up to 9 volts. This is awesome as the trains run with 9 volt battery packs this is perfect. Also perfect is the board provides three different power sources on the board, 3.3 volts, 5 volts and the Battery Voltage from just the one external power source.
Built in H Bridge Motor driver
There are two motor drivers built into the board. So you can drive the train motor and add some other movement functionality ( like doors ) from the one board.
A myriad of Analog and Digital pins
There are plenty of programmable pins to add all sorts of additional functionality.
Bluetooth functionality via the tiny add on HC-06 board
Using the specially placed serial port on the board you can lay flat the HC-06 blue tooth board right on top of the DAGU board.
On top of that there is also a builtin accelerometer and also an Infrared receiver.
Once it's all together, it's tiny and very functional!
So you can see the Micro Magician v2 compared to the Lego Battery Box. The on screen configuration is :
* 1 x motor ( out of two, although I do have both working in the VB and the sketch code ).
* 1 x HC-06 Bluetooth adapter ( the green board in the middle ).
* 1 x battery pack ( I used while building and testing ) 4 x 1.5 volt.
* 1 x RFID reader ( It's an ID-12LA from Sparkfun, but that's for another time ).
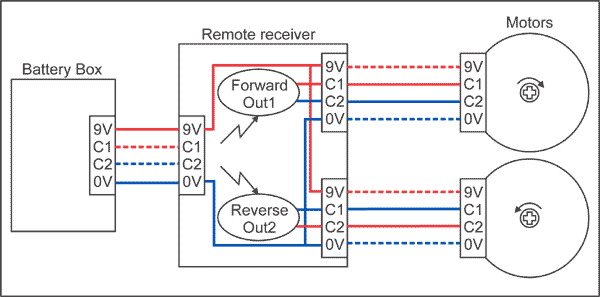
I have all of the LEGO PF cables cut up and crimped, I just need to test them first to make sure that I'm not going to blow anything up ( maybe add a diode to the power cable ).
Where did it get it? Well being Australian I got it from
Robot Gear - DAGU MMv2. You know, buy local and all that jazz!